Quick Start
From a clean checkout to receiving your first email: one command brings the stack up, the setup wizard walks you through the rest, and mail arrives over WebSocket without a refresh.
The supported path, and the one most people should take. If you would rather run the binaries directly, see From Source.
You need Docker Engine 24+ with Compose v2.24 or newer, and about 4 GB of memory free. Nothing else — every value has a working default and the bundled Postgres, Redis and MinIO come up alongside the app.
Bring It Up
git clone https://github.com/AmJaradat01/burnerbyte.gitcd burnerbytedocker compose up -dThe first run builds the API, SMTP and frontend images from source, so expect a few minutes. After that it is seconds.
# The migrate service is a one-shot job: it applies the schema and exits.# "migrate Exited (0)" is success, not failure.docker compose psdocker compose logs -f apiPostgres, Redis and MinIO deliberately publish no host ports — the API and SMTP
daemon reach them over the Compose network, and binding 5432 or 6379 on the host
would make up fail for anyone already running those locally.
Those defaults are development-grade. Before this is reachable by anything but
your own machine you need a real JWT_SECRET and ENCRYPTION_KEY — see
Before You Expose It.
Setup Wizard
Open http://localhost:3000. First launch redirects to a one-time wizard, which is server-authoritative — you cannot skip past it by editing a URL.
- Platform owner — the first account, which becomes a system admin. System admins operate the platform without belonging to any organization.
- Organization — the top-level tenant. Teams, domains and audit all hang off it.
- Outbound SMTP — used for invites, email verification and password resets. Any relay works: Mailgun, SES, Postmark, or your own. This is outbound and entirely separate from the inbound SMTP daemon.
- Domain — the first domain that will receive mail. You will need DNS records for it; see DNS Setup.
- Team, branding, invites — optional, and all changeable later from settings.
After setup, any user who registers without an organization is redirected to
/onboarding to create or join one. This is server-authoritative and cannot be
dismissed. System admins are exempt — they can manage roles, SSO and system
settings without belonging to an org.
Sign In
The wizard drops you at the sign-in screen. Use the admin account you just created, or a configured SSO provider.
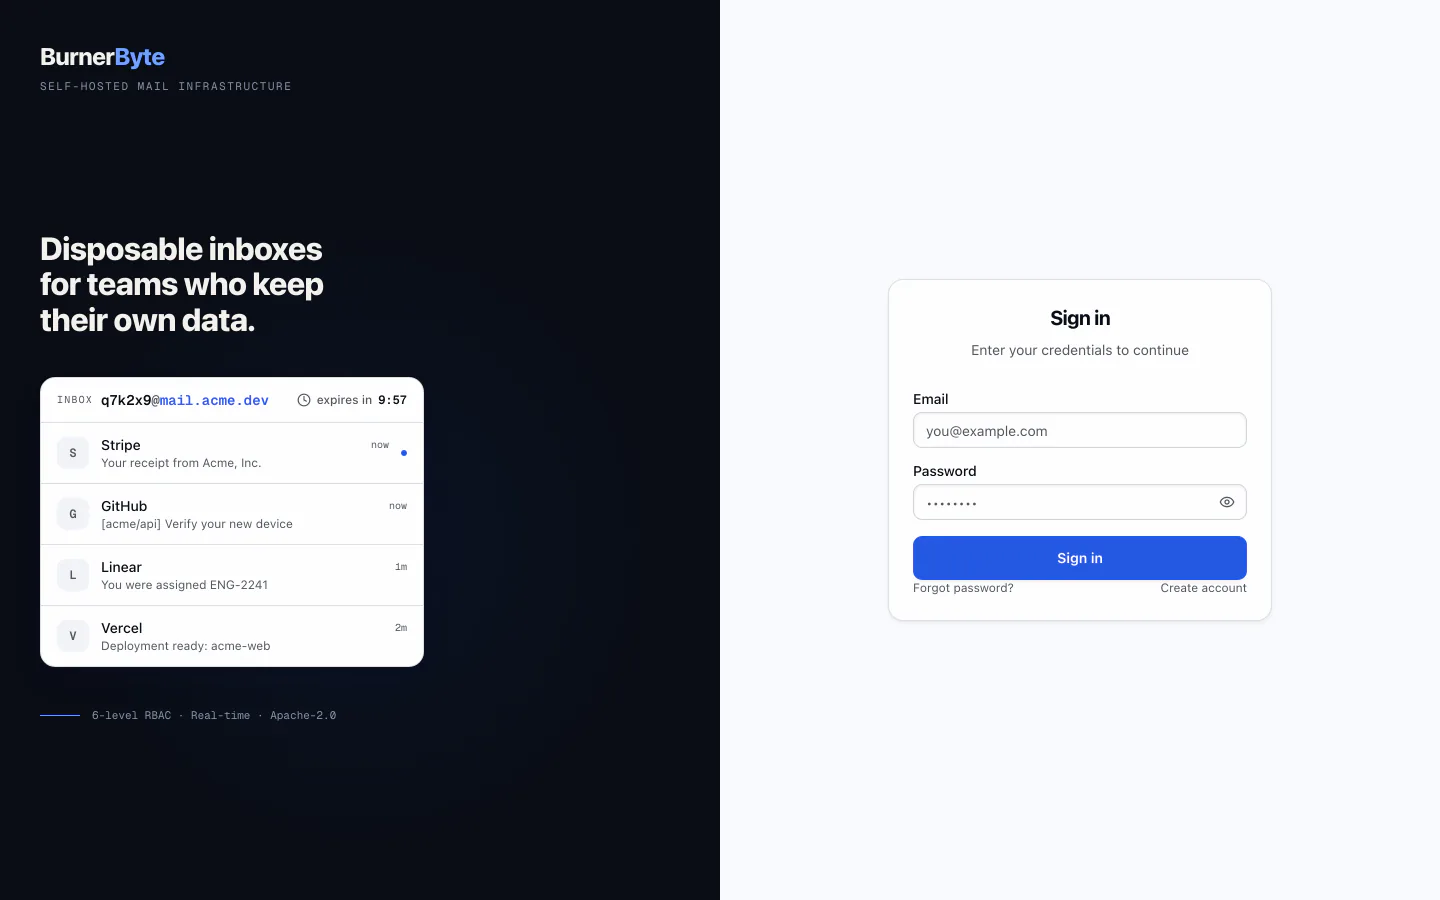
Signed-out visitors to the same address get the public landing page instead.
Create Your First Inbox
- Select your team from the sidebar dropdown
- Navigate to Inboxes
- Click Create inbox
- Choose a domain, optionally set an alias, and pick a TTL
- Copy the address
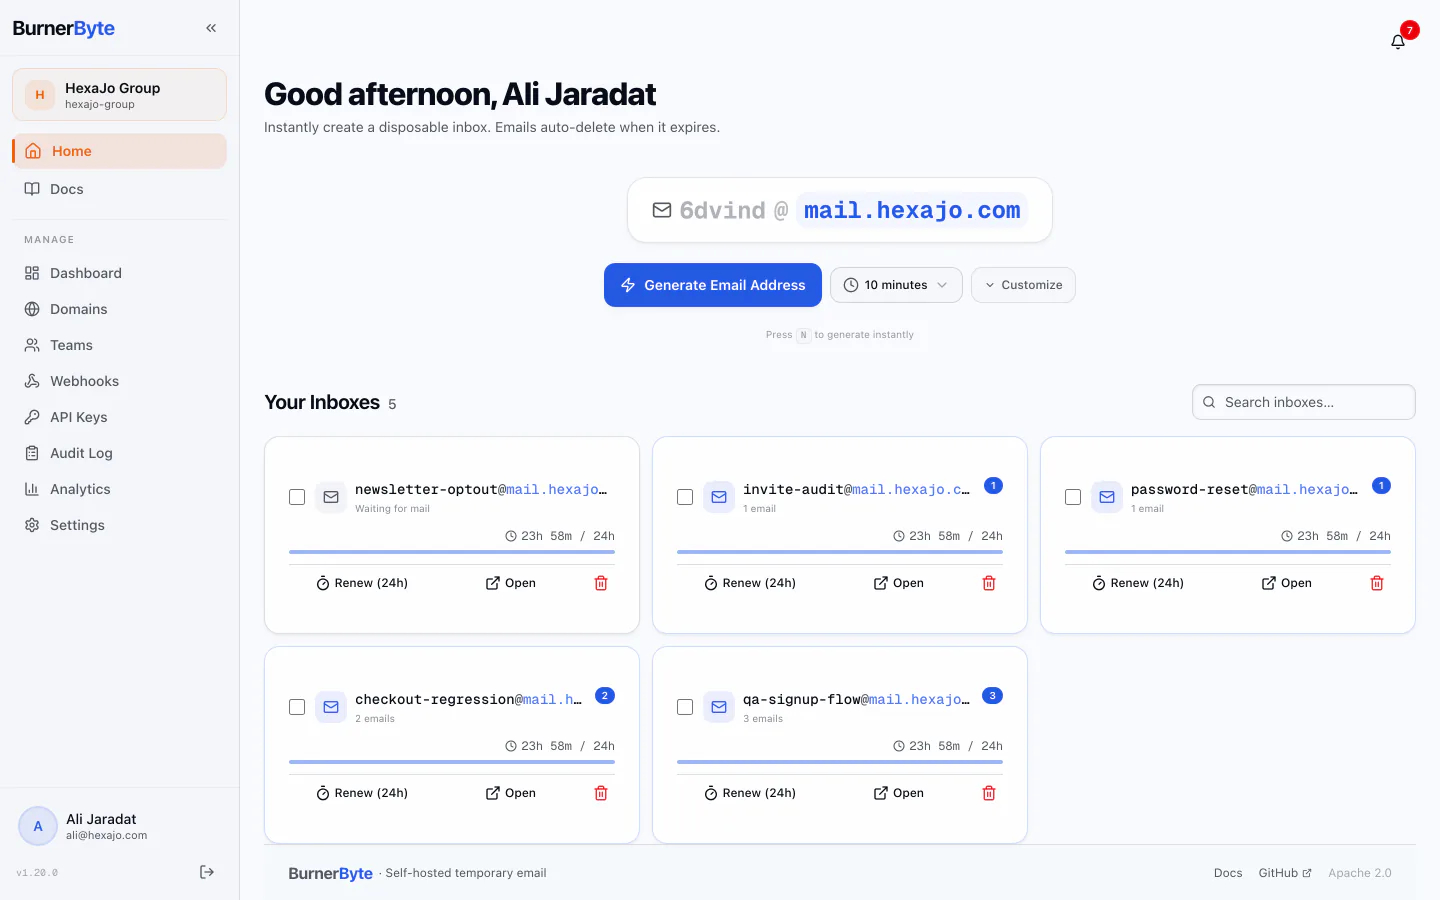
Only the creator can read an inbox, and that is enforced in the service layer rather than in the UI.
Receive an Email
Send a test message to the address. If the SMTP daemon is running and DNS is configured:
# quick test with swaks (brew install swaks / apt install swaks)swaks --to [email protected] --server localhost:2525The email appears in real time over WebSocket — no page refresh. A 550 means
the daemon is reachable and rejected the recipient, which is correct when no
active inbox exists at that address.
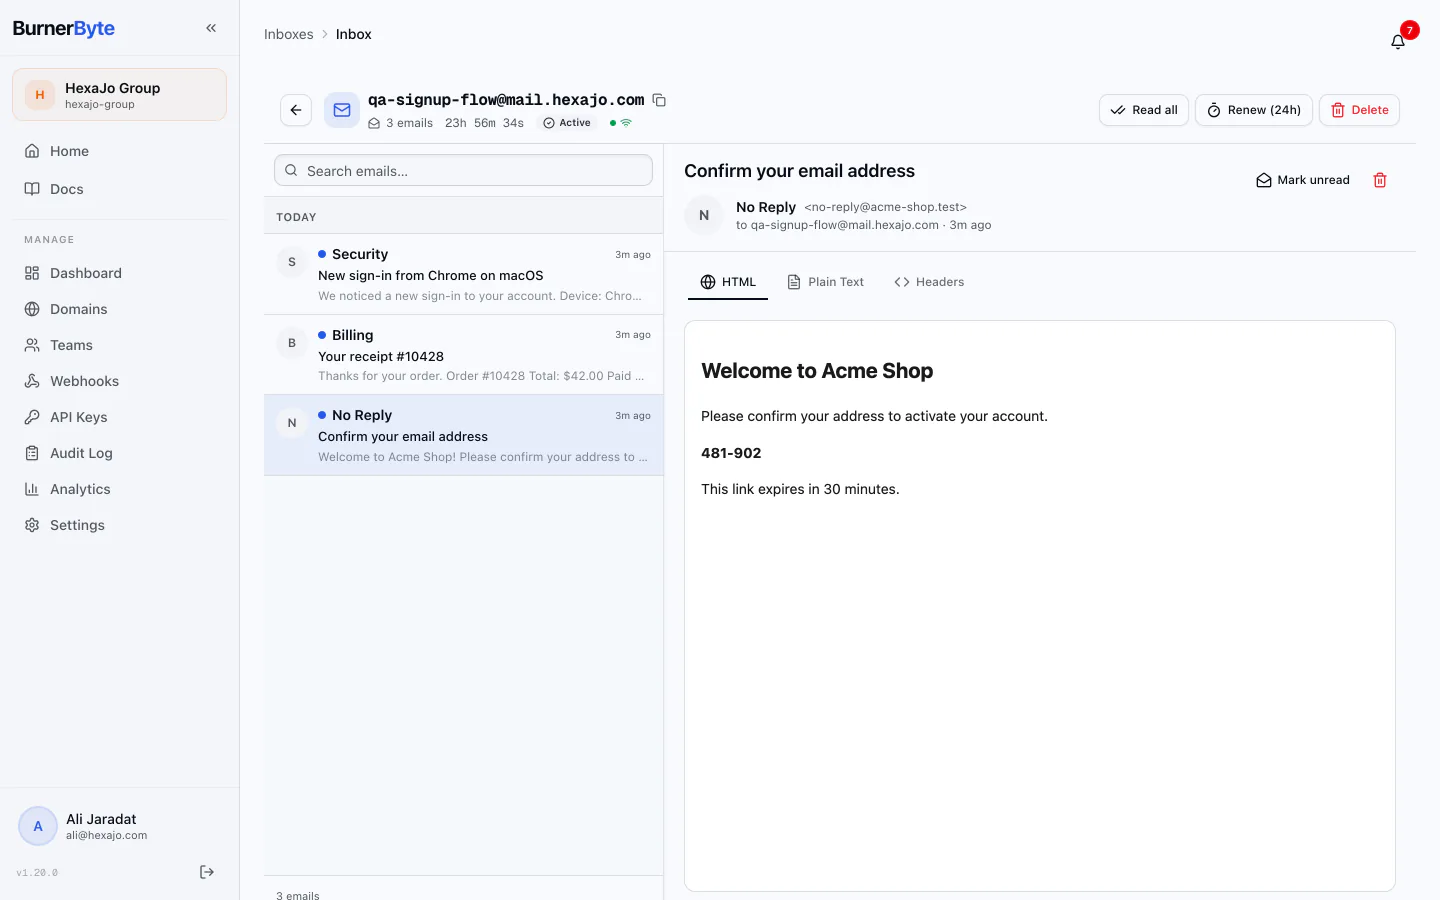
To receive mail from the internet rather than from your own machine, publish port 25 and point an MX record at the host — see Receiving Real Mail and DNS Setup.